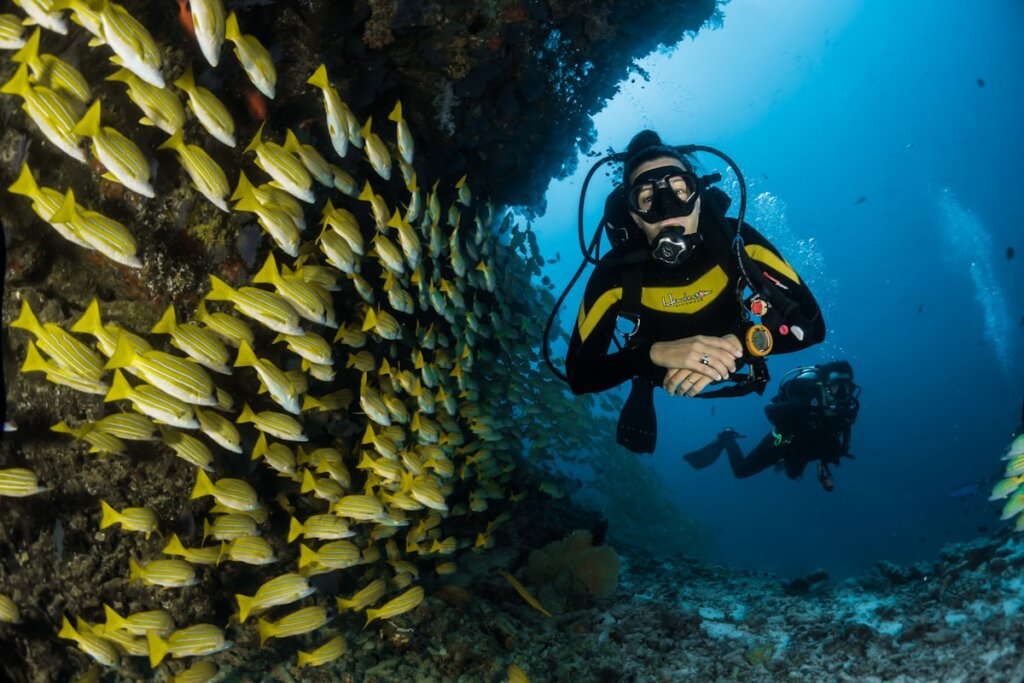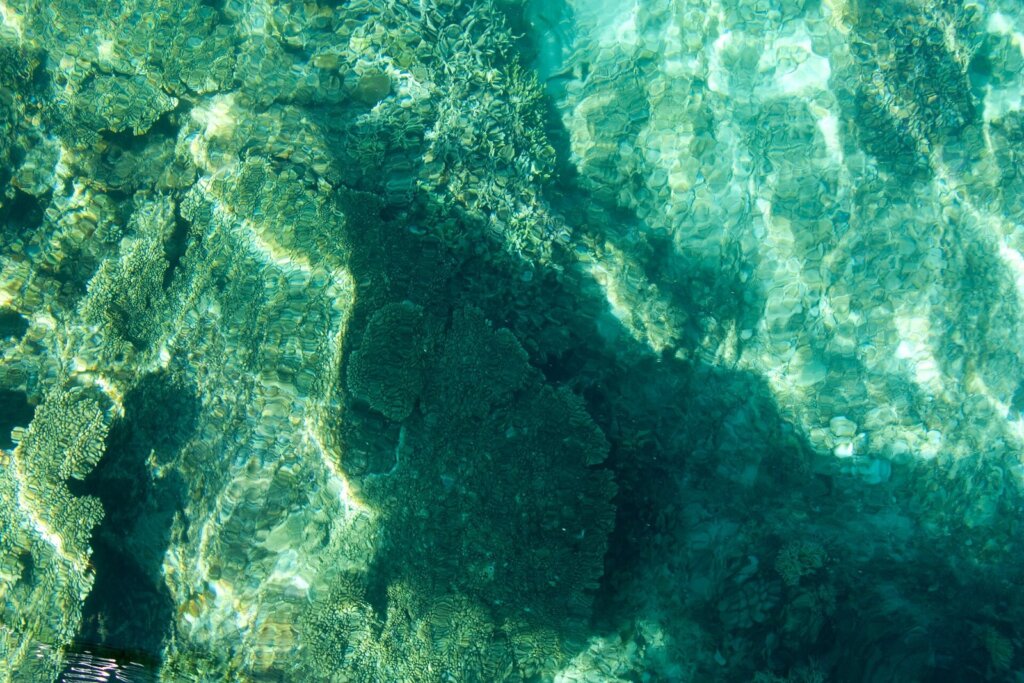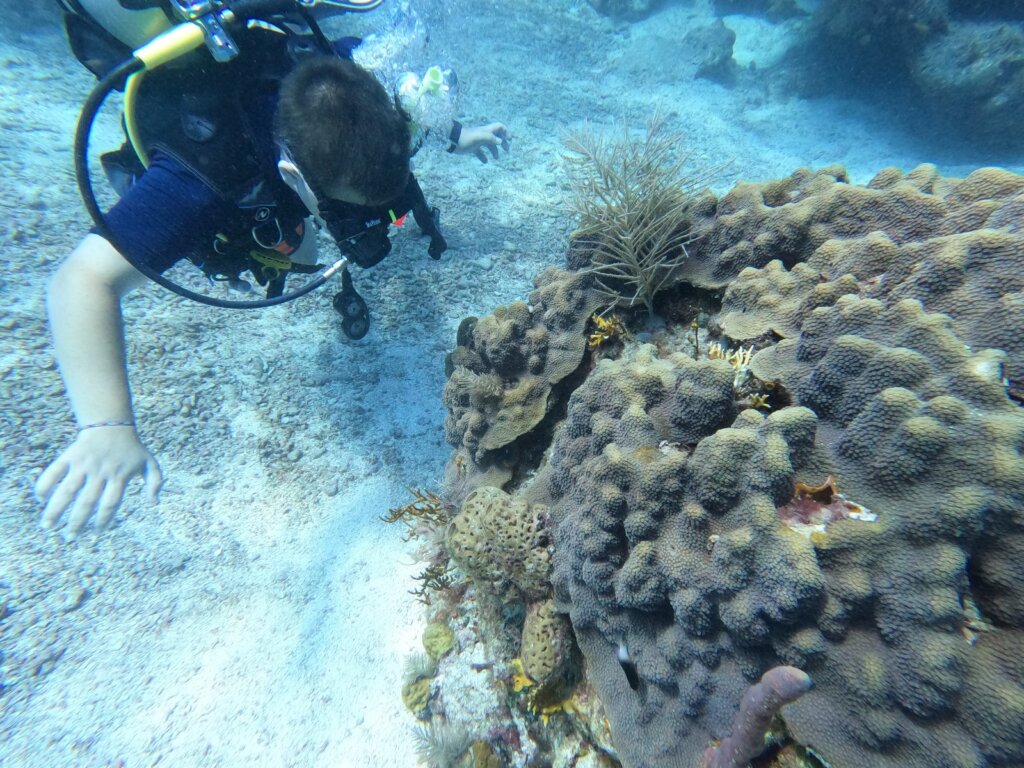

Choosing an underwater camera before an El Nido trip is harder than it looks, because the lagoons are shallow, bright and full of moving people. This guide focuses on the GoPro versus phone housing decision specifically for travelers who will spend two to five days on island-hopping boats and want sharp snorkeling footage without ruining a phone or a budget. We compare action cameras, sealed phone housings and waterproof compacts on real trip conditions: salt spray, sun glare, crowded lagoons and limited charging on the boat.
Why El Nido Is Different From a Pool or a Lake
Bacuit Bay is a marine playground of limestone islands, sandy shallows and coral gardens. Most snorkeling stops sit in water between one and four meters deep, which is ideal for photography because sunlight reaches the bottom and colors stay strong. That same brightness creates glare on screens, and the constant boat rocking makes it easy to drop gear.
Standard tours run from about 9 a.m. to 4 p.m., so your camera has to survive many hours of salt, sun and repeated swims. Anything that needs babying is a poor fit. Review the routes in our island hopping tour comparison to see how many water stops each tour makes, then match your gear to that workload.
Also remember that boats provide only limited shade and rarely offer charging points. Whatever camera you pick should last a full day on one charge, or you should carry a power bank in a sealed bag.
GoPro and Other Action Cameras
Action cameras are the default recommendation for good reason. Modern models are waterproof to around ten meters without a case, shoot stabilized video and have wide lenses that make small lagoons look spacious. They mount on a floating grip, a wrist strap or a short pole, so you can film while swimming with both hands mostly free.
The downsides are small sensors and a wide, slightly distorted view. Fish look far away unless you swim close, and low-light shots inside caves or under overcast skies look grainy. Battery life drops quickly in warm conditions when you shoot 4K, so set 2.7K or 1080p at 60 frames per second and carry two batteries.
Always attach a floating handle. A GoPro with no float sinks in seconds, and the sandy bottoms of some lagoons make retrieval impractical once a strong current moves it.
Phone in a Waterproof Housing
A sealed housing turns the phone you already own into an underwater camera with a large screen and superior photo processing. The photos usually look better than action-camera stills, especially in bright shallow water. Touch controls are limited underwater, so use the volume button or a timer.
The risk is the seal. A single hair or grain of sand on the gasket can flood the case. Test the housing in a sink before you leave home, inspect the gasket every time you close it and never open it on a sandy beach. Read our advice on waterproof gear and dry bags for a complete protection plan.
Phone housings are also heavier and can fog up. Keep a packet of silica gel inside and let the case reach the water temperature before closing it. If you value a spare device, do not risk your only phone in a case that has never been tested.
Waterproof Compact Cameras
Rugged compact cameras sit between the two worlds. They have larger sensors than most action cameras, physical buttons that work with wet hands and better zoom range. They are excellent for still photographs of turtles, reef fish and coral texture. Video stabilization is weaker, so footage can look shaky while kicking.
They are also a good option for families, because the buttons are simple and children can hold them. The trade-off is price and availability; you generally need to buy before you arrive, as specialty shops in town stock limited models.
Comparison Table: Which Camera Fits Your Trip?
| Option | Best For | Battery in Hot Weather | Main Risk |
|---|---|---|---|
| GoPro or action camera | Video, hands-free swimming | 1.5 to 2.5 hours of 4K | Drops and sinking without a float |
| Phone in sealed housing | High quality photos, sharing fast | Depends on phone, drains fast in sun | Gasket leak destroys the phone |
| Waterproof compact | Still photos and family use | Two to four hours mixed use | Weaker video stabilization |
| Disposable underwater camera | Backup and fun for kids | No battery | Limited shots, delayed results |
| Rent locally | One-off trip, no gear purchase | Varies by unit | Availability and unit condition |
If you will film mostly in the lagoons on Tours A and C, an action camera on a float is the most forgiving. If you care more about vacation photos than video, a well-tested phone housing wins on image quality.
Shooting Tips for Bacuit Bay Lagoons
Shoot between 10 a.m. and 2 p.m., when the sun is high and light reaches the bottom. Stay within two meters of your subject and shoot upward slightly so fish are silhouetted against the surface glow. Avoid using flash; it reflects off floating particles and makes the water look murky.
Hold your breath and float still for a moment before you press the shutter. Movement scares fish away, and steady hands make sharper footage. Prefer wide angles for lagoons and macro or close-up settings for coral details.
Wash your gear in fresh water after each day. Salt crystals build up on lenses and seals, and a rinse is the cheapest insurance you can buy. Keep the camera in a shaded, damp towel on the boat to prevent overheating.
Reef-Safe Photography Habits
The reefs around El Nido are protected, and careless photography adds to the pressure. Never stand on coral, never chase turtles and keep a respectful distance from marine life. The PADI project-aware guidelines recommend good buoyancy control and no-touch behavior, which apply to snorkelers too.
Use reef-safe sunscreen or a rash guard so oils do not wash onto coral. The Philippine DENR and the local tourism office enforce protected-area rules, and guides will politely stop you if you get too close. More background on responsible practices appears in the Department of Tourism resources for sustainable travel.
For seasoned swimmers, a mask that fits well matters more than a brand-new camera. Our foggy snorkel mask fixes article explains how to keep the view clear.
Budget, Rental and Packing Checklist
Decide on your budget before the trip, because buying a new action camera plus accessories can cost more than the entire tour bill. If you already own a recent phone, a tested housing is usually the cheapest upgrade. If you will only snorkel for one day, consider borrowing or renting a unit and spending the savings on a good tour.
Pack a floating strap, a spare battery, a microfiber cloth, silica gel packets, a small dry bag and a memory card with plenty of free space. Confirm what to bring on the boat with our day bag checklist and keep the camera in a padded, waterproof pouch when not in the water.
Finally, sync your photos every evening. Hotel wifi can be slow, so back up to a portable drive or your phone as you go rather than risking a full lost trip.
Common Mistakes to Avoid
The most frequent mistake is testing gear for the first time on the boat. Practice with your setup in a hotel pool or a shallow beach so you know where the buttons are, how the strap sits and how the case feels in the water. A second mistake is leaving the camera in direct sun on the deck; dark housings heat up quickly and fog from the inside as soon as they meet cold water.
Many travelers also forget to format the memory card and end up with a full card at the third lagoon. Others trust a cheap strap that snaps, or shoot vertical video that crops poorly later. Decide on one format, check the storage each lunch break and keep a spare card in a sealed pouch.
Finally, do not let the camera distract you from safety. Stay near your guide, wear a life jacket where required and keep one hand free for balance. The boat safety and life jacket guide explains what to expect.
A Sample Camera Plan for a Full Island Hopping Day
Start the morning by charging everything to 100 percent, clearing memory space and wiping the lens. At the first stop, take a few test shots to check focus and exposure. Use the calm morning water for wide lagoon footage, then switch to close-up photos at the coral gardens around midday. During the lunch break, rinse the camera in fresh water if available, dry it and swap batteries.
In the afternoon, keep shooting short clips rather than long takes, because they are easier to edit and use less battery. On the ride back, review your best photos and delete the blurry ones so your evening backup is quick. This simple routine keeps the gear dependable and leaves more time to actually enjoy the lagoons.
Frequently Asked Questions
Is a GoPro worth it for El Nido snorkeling?
Yes for video and hands-free use, especially with a floating handle. If you mostly want photos, a tested phone housing can deliver better stills.
Can I use my phone underwater without a case?
Some phones have an ingress rating, but salt water and repeated dunks are hard on them. A sealed housing or pouch tested at home is safer.
How much battery do I need for a full island hopping tour?
Plan on two spare batteries for an action camera or a small power bank for a phone. Heat drains batteries faster than expected.
Do I need a camera permit at El Nido snorkel sites?
Recreational cameras generally need no permit, but check the current rules with your operator, especially for drones or commercial shooting.
What is the best time of day for underwater photos?
Late morning to early afternoon gives the brightest, clearest light in shallow lagoons.