El Nido Underwater Photography Guide 2026: Tips, Gear & Best Spots
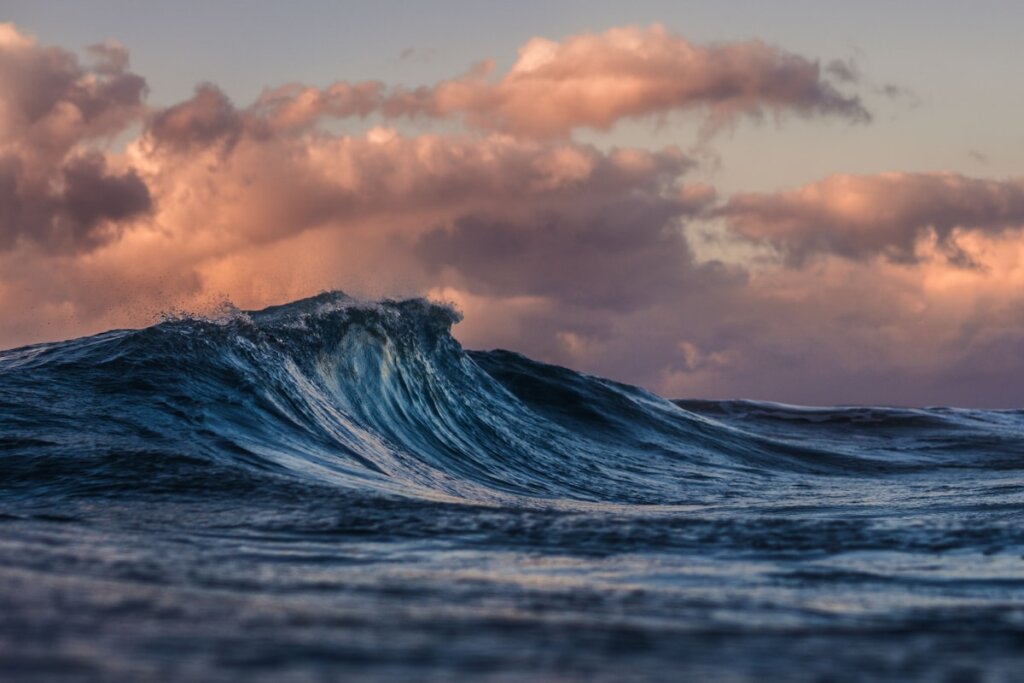
El Nido’s waters are among the most photogenic in Southeast Asia — crystal-clear lagoons, dramatic limestone overhangs dropping into the sea, coral gardens thick with reef fish, sea turtles, and the occasional reef shark. Whether you’re shooting with a waterproof phone case or a full mirrorless rig in a housing, this guide covers everything you need to return home with images that do the place justice.
- Camera Gear Options: Which Setup Is Right for You?
- Essential Accessories
- Best Underwater Photo Spots by Tour Type
- Lighting: The Biggest Factor
- Camera Settings Starting Point
- Composition Tips for El Nido’s Environment
- Reef Etiquette for Photographers
- Best Months for Underwater Photography in El Nido
- Frequently Asked Questions
Camera Gear Options: Which Setup Is Right for You?
| Setup | Best For | Estimated Cost | Image Quality |
|---|---|---|---|
| Waterproof phone case (e.g. Ulanzi) | Casual snorkellers, light use | ₱500–₱2,000 | Good in bright conditions |
| GoPro Hero12 / DJI Osmo Action | Action footage, ease of use | ₱15,000–₱25,000 | Very good wide-angle |
| Compact camera + underwater housing (e.g. Sony RX100 + Fantasea) | Serious snorkelling / shallow diving | ₱35,000–₱70,000 | Excellent |
| Mirrorless/DSLR + housing (e.g. Sony A7 + Nauticam) | Divers, professional results | ₱150,000–₱400,000+ | Professional |
| Rental (from El Nido dive shops) | Trying before buying | ₱1,500–₱4,000/day | Varies |
For most travellers, a GoPro with a red filter and good lighting is the sweet spot between quality and convenience. Compact camera housings deliver a major step up if you’re willing to carry the gear. Full mirrorless rigs are for dedicated photographers who plan multiple dive sessions.
Essential Accessories
- Red filter — water absorbs red wavelengths fast; a red filter restores colour at depths of 1–10m. Essential for any non-flash shooting
- Video lights / strobes — even at 3m depth, colours become muted without artificial light. A pair of small video lights (e.g. BigBlue AL1200XP) transforms results dramatically
- Float arm / tray system — a buoyancy arm keeps your housing neutrally buoyant, reducing fatigue and allowing finer composition control
- Anti-fog inserts — critical in El Nido’s humidity; put fresh inserts in your housing before every dive
- Extra batteries + memory cards — El Nido town has limited electronics supply; bring 2–3 batteries minimum and a fast card (at least U3/V30)
- Macro lens wet diopter — for compact cameras, a +10 diopter wet lens enables close-up shots of nudibranchs, seahorses, and coral polyps without changing the housing
Best Underwater Photo Spots by Tour Type
| Tour / Location | Depth | Best Subject | Difficulty | Notes |
|---|---|---|---|---|
| Small Lagoon (Tour A) | 0–5m | Lagoon walls, kayak silhouettes | Snorkel | Best in morning light (10–11am) |
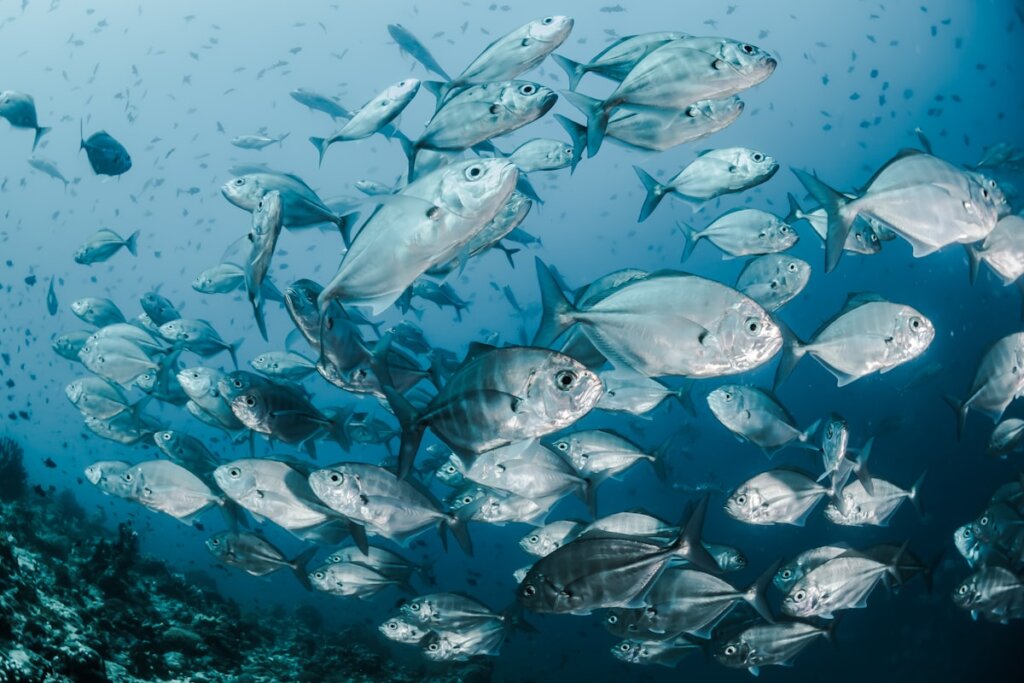
| Shimizu Island (Tour A) | 3–12m | Reef fish schools, coral gardens | Snorkel/dive | Clearest water on Tour A |
| Helicopter Island (Tour B) | 5–15m | Reef slope, clownfish, sea fans | Dive | Best fish diversity on tour routes |
| Cadlao Wall (charter) | 5–40m | Wall corals, Napoleon wrasse, sharks | Dive (advanced) | Requires private charter or dive centre |
| Tapiutan Wall (charter) | 10–35m | Gorgonian sea fans, barracuda | Dive (advanced) | Best visibility October–March |
| Nacpan Beach shore | 0–3m | Juvenile fish, sea glass, texture | Snorkel | Good for macro at low tide edges |
| Secret Beach (Tour B) | 0–4m | Entrance tunnel light rays | Swim-through | Best 11am–1pm for dramatic light |
Lighting: The Biggest Factor
Water kills light — especially red and yellow wavelengths — faster than most photographers expect. At just 3 metres, colours shift blue-green without correction. Here’s how to manage it:
- Shoot between 10am–2pm — peak sun angle drives the most light into the water. El Nido’s clearest lagoons reward midday shooting with extraordinary natural light shafts
- Use strobes or video lights for anything below 5m — ambient light alone at 8m+ produces flat, blue-cast images without artificial fill
- White balance — set manual white balance underwater, or shoot RAW and correct in Lightroom using the Kelvin method (start at 9000K for 5m)
- Get close — the single most important rule. Water between you and the subject degrades colour and adds backscatter. Get within 30cm of small subjects
- Shoot upward — positioning your subject above you with open water behind it creates clean blue backgrounds and eliminates cluttered reef backgrounds
Camera Settings Starting Point
| Scenario | ISO | Aperture | Shutter | Notes |
|---|---|---|---|---|
| Lagoon snorkelling (bright) | 100–200 | f/5.6–f/8 | 1/200–1/500 | Red filter on; wide angle |
| Reef at 5–10m (ambient only) | 400–800 | f/5.6 | 1/100–1/200 | Red filter; expect some noise |
| Reef with strobe | 100–200 | f/8–f/11 | 1/125–1/200 | No red filter; strobe provides colour |
| Wide-angle wall/school | 200–400 | f/8 | 1/250 | Stay still; let fish come to you |
| Macro (diopter) | 200 | f/11–f/16 | 1/125 | Strobe essential; very short DOF |
Composition Tips for El Nido’s Environment
- Use the limestone cliffs — El Nido’s above-water karst towers are visible from just below the surface, creating stunning split-shot opportunities. A dome port enables above/below compositions at the waterline
- Frame fish in their environment — a single clownfish in its anemone, set against a coral slope background, tells a story
- Look for negative space — a sea turtle against a blue water column, shot upward, is more impactful than a turtle against a cluttered reef floor
- Silhouettes at the surface — in the lagoons, swim just below the surface and shoot fellow snorkellers or kayaks against the sun. Silhouettes don’t need colour correction and are consistently striking
- Stay horizontal — tilted horizons are the most common beginner mistake. Use the rule of thirds grid in your viewfinder as reference
Reef Etiquette for Photographers
El Nido’s reefs are protected under ENTMRPA regulations. Underwater photographers have a particular responsibility:
- Never touch the coral — even for a better angle. One touch kills polyps. Practice buoyancy control before shooting
- Don’t chase marine life — sea turtles, reef sharks, and eagle rays will approach curious, still photographers. Chasing subjects produces blurred shots and disturbed animals
- No gloves — prohibited in El Nido marine areas
- Don’t use flash near manta rays or whale sharks — video lights are less startling than strobes
- No feeding for photos — never encourage handlers or guides to feed fish for better shots
- Keep fins away from the reef floor — fin kick is the most common source of accidental coral damage
Best Months for Underwater Photography in El Nido
| Month | Visibility | Marine Life Highlights | Overall Rating |
|---|---|---|---|
| January–March | 15–25m | Whale sharks (occasional), manta rays | ★★★★★ Best |
| April–May | 12–20m | Reef fish peak activity, turtle nesting | ★★★★★ Excellent |
| November–December | 10–18m | Bioluminescence at night, improving reefs | ★★★★ Very Good |
| October | 8–15m | Bioluminescence season opening | ★★★★ Good |
| June–September | 5–10m | Reduced but still possible at sheltered sites | ★★★ Acceptable |
For seasonal context, see our complete water activities guide and the above-water El Nido photography guide. For dive site details, see our diving guide and ecotourism guide.
Frequently Asked Questions
- Can I rent underwater camera gear in El Nido?
- Yes — several dive shops rent GoPros, action cameras, and compact camera housings for ₱1,500–₱4,000 per day. Availability varies so book in advance, especially December–March.
- Do I need a diving certification for underwater photography in El Nido?
- No — many of El Nido’s best photo spots are accessible to snorkellers at 0–5m depth. The lagoons on Tours A and C offer stunning shots without any diving. PADI Open Water certification opens up reef sites to 18m for significantly more variety.
- What is the best underwater camera for El Nido beginners?
- A GoPro Hero12 with a red filter clip is the best entry point — durable, easy to use, and produces excellent wide-angle footage in El Nido’s clear, bright conditions. Add a small video light for shots below 3m.
- What marine life can I photograph in El Nido?
- Common subjects include sea turtles, reef sharks (white tip and black tip), Napoleon wrasse, clownfish, parrotfish, schools of fusiliers, barracuda, and nudibranchs. Whale sharks are occasionally spotted near Linapacan from January to March.