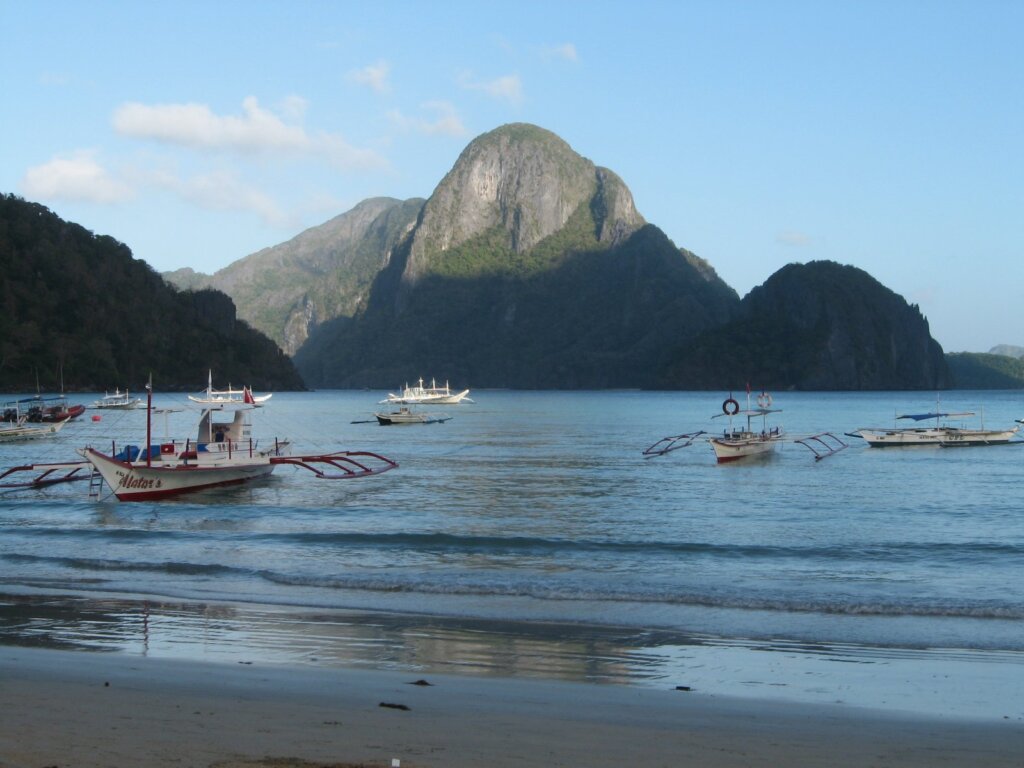

Every year, travelers step onto a bangka in Bacuit Bay with a flimsy plastic bag and step off with a drowned phone. This guide focuses specifically on dry bag sizing for first-time island hoppers visiting El Nido in the wetter months, when sudden squalls and choppy crossings are common. You will learn how many liters you actually need, what to put in each bag, and how to avoid overpacking a bag that will not seal properly.
Why Dry Bag Size Matters More Than Brand
Most island hopping tours in El Nido run from roughly 9 a.m. to 4 p.m., and the boat spends the day moving between lagoons, beaches and snorkel stops. Spray comes over the sides on even calm days, and during the wetter months a passing rain band can soak an entire deck in minutes. A bag that is too small forces you to leave essentials behind, while a bag that is too large rarely gets rolled tightly enough to seal.
A dry bag works by rolling the opening down at least three times and clipping it shut. That means you need about 15 to 20 percent empty volume at the top. If you fill a 10 L bag to the brim, the roll-top cannot do its job. Choosing the next size up is almost always the smarter move. If you are still building your kit, our island hopping what-to-bring list covers everything beyond waterproofing.
Think of the dry bag as part of your safety kit rather than an accessory. It keeps medication, electronics and spare clothing usable in changing weather, and it doubles as a flotation aid for small items if you need to swim between boats and shore. That is why even experienced guides carry one on every trip, regardless of the forecast.
Dry Bag Sizes Compared
The table below translates liters into real-world El Nido scenarios so you can pick quickly. Capacity numbers are approximate and vary by manufacturer, so treat them as a starting point.
| Dry Bag Size | Best For | What Fits | Rainy Season Verdict |
|---|---|---|---|
| 2–5 L | Solo day trip, minimal gear | Phone, wallet, keys, small sunscreen | Good as a second inner bag |
| 10 L | Couples sharing, Tour A or C | Towel, phone, camera, snacks, spare shirt | The sweet spot for most visitors |
| 15–20 L | Families, long Tour D days | Change of clothes, towels, power bank, first-aid kit | Best when squalls are frequent |
| 30 L+ | Multi-day kayak or camping trips | Sleeping gear, clothing, electronics | Overkill for a standard tour |
Notice that 10 L is the most versatile choice. It handles a single traveler on a standard tour and still leaves headroom for the roll-top. Larger groups often prefer one 20 L communal bag plus personal 5 L pouches for valuables.
Material and Seam Quality
Look for 500D PVC tarpaulin or a coated nylon with welded seams rather than stitched ones, because stitching leaves needle holes. A transparent window on a small pouch lets you check contents without opening it. Avoid ultra-cheap bags sold at beach stalls with thin, creased plastic, as they tend to crack after a few folds. If you travel often, a mid-range bag lasts several seasons and costs little more than a single replacement phone case.
Matching Bag Size to Your Tour Route
Different routes have different exposure. Tour A stays mostly inside sheltered lagoons, so spray is limited and a 10 L bag usually does the job. Tours that cross more open water, such as those covered in our Tour C vs Tour D comparison, have longer exposed stretches where waves slap the hull.
For the open-water routes, bring a 15 L or 20 L bag if you carry a change of clothes. If you also plan to leave the boat and wade ashore with your gear, a bag with shoulder straps beats a simple tote because both hands stay free for balance on slippery rocks.
- Short half-day trips: 5 L is enough for a phone, cash and sunscreen.
- Full-day shared tours: 10 L per person or 20 L per couple.
- Private boat charters: One large 20 L bag works because the crew often stores gear under a covered bow.
A Sample Packing Scenario
Imagine a couple booking a shared full-day tour in July. They bring one 15 L bag for towels, a spare shirt, sunscreen, a bottle of water and a power bank, plus one 3 L pouch each for phone, cash and room key. Total weight stays under four kilograms, the roll-top closes cleanly, and nothing needs to be unpacked on the boat. When lunch is served on the beach, they simply carry the main bag ashore and leave the pouches clipped to a belt loop.
Compare that with a traveler who packs a 5 L bag with a towel, a camera and a hoodie. The roll-top cannot close, a wave comes over the bow, and the camera is ruined. The lesson is simple: count the items you want dry, add a fifth, and buy the bag that holds that total.
What Belongs in Each Bag
Splitting items across two bags is a cheap insurance policy. Keep the bag with your phone, passport photocopy and cash inside a second smaller pouch, then drop that pouch into the main bag. If the outer roll-top leaks, the inner pouch still protects the electronics.
The Valuables Pouch (2–5 L)
Phone, bank card, a small amount of cash for entrance fees, and a key. Add a silica gel packet to absorb residual humidity, and keep the phone in a clear waterproof case so you can still take photos.
The Main Bag (10–20 L)
Quick-dry towel, spare T-shirt, reef-safe sunscreen, snacks, a refillable bottle and a compact first-aid kit. If you carry a camera, wrap it in a microfiber cloth first. A power bank also belongs here, and our guide to charging devices on boat tours explains why.
What to Leave in the Hotel
Passports, spare cards and anything you would cry about losing. Boats are safe, but a splash or a slip on a wet ladder can send a bag overboard.
Rainy Season Adjustments
From roughly June to October the weather swings quickly, and heavy squalls are possible even on mornings that begin blue. Official forecasts from weather.com and local notices from the Philippine Department of Tourism are worth checking before any tour. Tours can be cancelled when the coast guard restricts sailings, so build flexibility into your itinerary.
During these months, size up by one step. If you would normally bring a 10 L bag, pack a 15 L bag and add a thin rain poncho on top so the bag itself stays out of direct rain while you wait at the beach. Our broader rainy season packing list and rainy season travel guide go deeper on clothing and scheduling.
Testing, Sealing and Avoiding Common Mistakes
Test Before You Travel
Before your trip, fill the bag with a few tissues, seal it, and submerge it in a bathtub or bucket for two minutes. If the tissues come out dry, the seams and clasp are fine. Do this at home, not on the beach.
Seal It the Right Way
When sealing, follow this routine: push out excess air gently, fold the top flat, roll down at least three times, then clip both ends. A bag with trapped air will float, which is useful, but too much air makes it bounce around the boat. Squeeze out most of the air and keep it flat against your seat.
Rinse the bag with fresh water after each tour, because salt crystals can degrade the roll-top seal. Dry it fully, open, before storing. Replace any bag with cracked welds or sticky, tacky fabric.
Mistakes We See Most Often
The most frequent errors are surprisingly basic. Travelers buy a bag but never test it, overstuff it, or store the phone loose in a side pocket. Others choose cheap zipper pouches that fail the moment a wave hits. Fabric dry bags with a roll-top are far more reliable than zip-lock style pouches for a full day on the water.
Another mistake is forgetting snorkel gear. Rental masks arrive wet, so keep a separate mesh or waterproof sleeve for them rather than letting them soak your towel. If you are deciding which mask to rent or buy, see our full-face vs classic mask comparison. For a broader overview of safe snorkeling practice, PADI publishes useful basics for beginners.
Frequently Asked Questions
What size dry bag should I bring for El Nido island hopping?
Most travelers do well with a 10 L bag for a standard tour, or 15–20 L if you carry a full change of clothes and a camera.
Are dry bags available to rent or buy in El Nido town?
Small shops and dive operators in town sell dry bags, and some tour operators lend them. Quality varies, so bring your own if you can.
Is a waterproof phone case enough without a dry bag?
A certified waterproof case helps, but it can fail from scratches or worn seals. Use the case inside a dry bag for double protection.
Can I use a dry bag as a pillow or seat cushion?
Yes, a partly inflated bag works well as a cushion on hard boat benches, as long as you keep the roll-top sealed.
How many liters do I need for a family of four?
One 20 L communal bag plus a 5 L valuables pouch per adult is a practical setup for most families.
Final Thoughts
The right dry bag size is mostly about leaving room to seal it. Choose 10 L for a typical day, size up in the wetter months, and always nest your valuables in a smaller inner pouch. A little preparation keeps your phone dry and your day relaxed. For more trip planning, browse our budget vs luxury island hopping tour comparison.