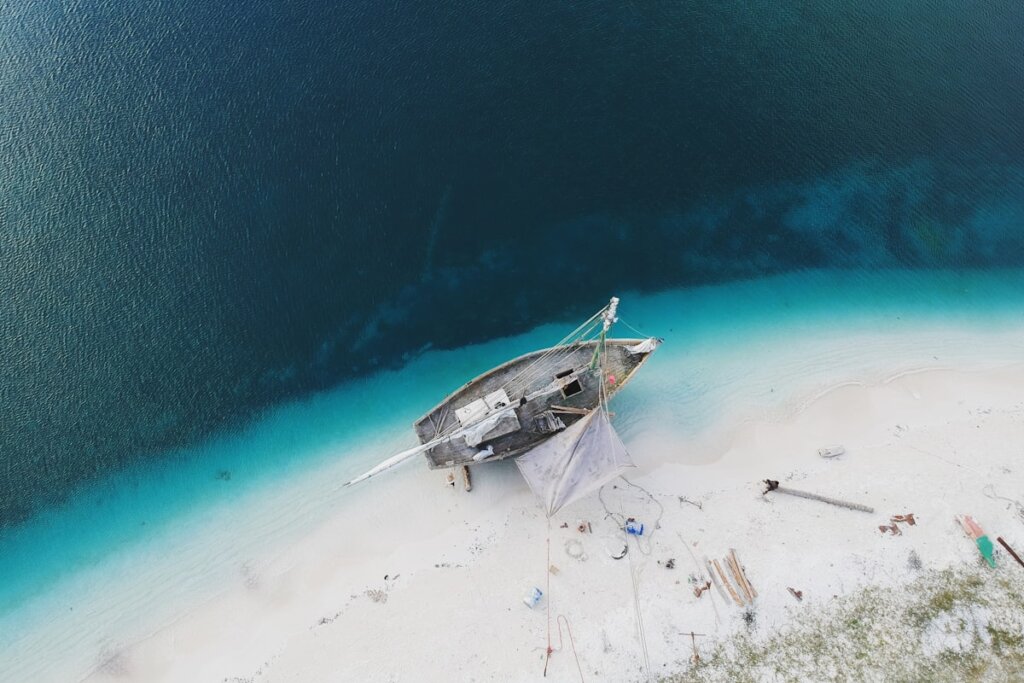

Freediving means exploring underwater on a single breath, and El Nido’s clear bays, limestone walls, and gentle lagoons make it a beautiful place to learn. This guide focuses on freediving specifically for confident swimmers and snorkelers who have never taken a course, rather than on certified scuba divers. You will find out what a beginner class covers, what conditions to expect, which safety rules matter most, what gear to bring, and how freediving compares with scuba and snorkeling.
What Freediving Is, and Why El Nido Suits It
Freediving is breath-hold diving with minimal equipment: mask, snorkel, long fins, and a wetsuit if the water is cool. Unlike scuba, there is no tank, so the experience is quiet and unhurried. Beginners learn relaxation, breathing technique, equalization, and safe rescue skills. Recreational freedivers do not need to go deep. A capable beginner reaches 10 to 20 meters after a course, and even 5 meters offers a completely different perspective from the surface.
Bacuit Bay offers warm water, generally between 27 and 30 degrees Celsius, and visibility that often runs 10 to 25 meters on calm days. Sheltered bays reduce current, and there are many shallow reef walls for practice. That combination is why freediving instructors often use El Nido’s protected coves for training. Weather matters, of course; the best time to dive in El Nido guide explains the seasonal picture, which applies to freediving as well.
How a Beginner Course Works
Most entry-level courses take two days. Agencies such as PADI and other international bodies teach standardized skills, with certification cards recognized around the world. Expect a mix of theory, pool or confined-water sessions, and open-water dives. Theory covers physiology, the effects of pressure, equalization, and safety protocols. The confined-water session teaches relaxation, static breath holds, and rescue drills. In open water, you dive along a line, learn to do a proper duck dive, and complete a series of depth progressions with a buddy.
| Level | Typical duration | Target depth | Best for |
|---|---|---|---|
| Try-it session | Half day | 3-8 m | Curious snorkelers |
| Basic course | 2 days | 10-20 m | Beginners wanting certification |
| Advanced course | 2-3 days | 20-30 m | Course graduates |
| Private coaching | Flexible | Personal goals | Photography and spearfishing preparation |
Prices vary by school and season, so request a written quote listing what is included, such as gear, boat fees, and certification. For general operator vetting, see our list of dive shops with PADI certification, many of which can point you to reputable freediving instructors.
Skills You Learn: Breathing, Equalizing, and Relaxing
The main secret of freediving is relaxation. Tension burns oxygen. Instructors teach a breathing cycle that slows the heart rate before a dive: a few calm, deep breaths, followed by a final full but unforced inhalation. You do not hyperventilate. Hyperventilation lowers carbon dioxide and can suppress the urge to breathe, which raises the risk of blackout, so responsible instructors ban it.
Equalization is the second core skill. As you descend, pressure builds on the eardrums and sinuses, and you must add air through the Frenzel or a simpler technique to keep them comfortable. Equalize early and often, never wait for pain. If your ears hurt, stop and ascend a meter or two. Our article on ear pressure and equalizing while snorkeling is a great warm-up for the basics.
Finally, you learn the duck dive, finning technique, and the relaxed ascent. Long, slow kicks save energy. Many beginners are surprised at how quickly a calm mind extends dive time.
Safety Rules You Should Never Skip
Freediving is safe when you follow the rules and dangerous when you break them. The golden rule is never dive alone. Every dive requires a trained buddy who watches you from the surface until you return and for at least 30 seconds after. Never hyperventilate, never push through pain, and never dive after drinking alcohol. Avoid diving while ill or dehydrated. Rest at the surface for at least twice as long as your last dive, especially if you have been deeper.
- Buddy system: One up, one down, always in line of sight.
- Line and float: Use a surface buoy so boats can see you.
- Recovery breathing: Take several strong, controlled breaths after surfacing.
- Medical check: Disclose asthma, ear problems, heart conditions, or recent illness before class.
- No flying: Avoid flying for at least 12-24 hours after diving; ask your instructor for current advice.
Read our boat safety guide too, because most freediving happens from a boat.
Gear: What to Rent and What to Buy
A beginner does not need much. A low-volume mask, a snorkel, and long freediving fins are ideal. Long fins are more efficient and reduce leg fatigue. Wetsuits of 2-3 millimeters are helpful in the cooler months and protect against sun and stings; the jellyfish sting safety page explains why coverage matters. Many schools include rental gear in the course price, and it is often better to rent your first set before investing. Bring reef-safe sunscreen; our reef-safe sunscreen guide lists suitable options. Weighted belts are used sparingly and fitted by an instructor.
If you already own a mask, check that it fits. A fogged or leaking mask can ruin a dive, so the mask fogging fixes will save frustration.
Freediving vs Scuba vs Snorkeling: Which Is Right for You?
Snorkeling is ideal for surface-level reef watching with almost no training. Scuba gives longer bottom time and deeper access but requires a tank, heavier gear, and a longer certification. Freediving sits between them: more freedom than scuba, more depth than snorkeling, and very little equipment. Many travelers combine methods, snorkeling on a tour day and taking a freediving lesson on a rest day. Conservation-minded travelers may also appreciate the low impact of freediving, as there are no bubbles and fewer contact points with coral. For the Palawan protected area rules on reef contact and marine life, see the DENR guidance.
Building Comfort Before You Arrive
You can prepare at home in three or four weeks. Practice relaxed swimming, work on flexibility in your chest and neck with gentle stretches, and improve general fitness with cardio that does not leave you breathless. Yoga and slow diaphragmatic breathing are useful for learning to calm your body. Do not practice breath holds in a bathtub or pool without a trained supervisor nearby, since blackout can occur without warning, even in shallow water. If you take medication, discuss it with a doctor before travel. Quitting smoking, even a couple of weeks before the course, helps lung comfort and equalization.
On arrival, spend one easy day adjusting to the heat and humidity. Drink plenty of water; the heat and dehydration guide covers early warning signs. Check the marine forecast on weather.com and confirm the plan with your instructor the night before, because wind is the usual reason a session moves to the next morning.
Common Beginner Mistakes
The first mistake is pushing depth too quickly. A relaxed 8-meter dive teaches more than a strained 15-meter attempt. The second is neglecting equalization, which leads to ear barotrauma and a lost day. The third is tension in the jaw, neck, and shoulders, which wastes oxygen. The fourth is poor finning: short, rapid kicks tire the legs, while long slow strokes carry you farther. The fifth is skipping the surface recovery routine. After each dive, take a few strong breaths, signal that you are okay, and give yourself time to reset.
Another frequent issue is buying the cheapest fins or an ill-fitting mask before a course. Rent first, then decide. And finally, do not treat certification as a race. Progress at your own pace, ask questions, and celebrate each small win. A calm, safe first day lays the foundation for a lifetime of diving.
Once you finish, you might use the new skills on tour days to reach reef edges that snorkelers cannot; a good start is reading how Tours A to D differ to choose a route with the best reefs.
Planning Your Freediving Days in El Nido
Book your course early in the trip so a weather delay does not ruin your schedule. Aim for the drier months, from December to May, when mornings are calm and visibility is best. Schedule dives before noon, since winds and boat traffic increase in the afternoon. Eat lightly, hydrate, and sleep well. Avoid a heavy night out before class.
Also think about what else you want to see. A freediving day pairs well with a relaxed shore snorkeling session to practice skills without a boat. Tour days can be added after your course, with confidence in the water and a new appreciation for the marine environment. If you are traveling with a partner who does not want to freedive, they can watch from the boat or join a snorkel tour, which keeps everybody’s days full.
Frequently Asked Questions
Do I need to be a strong swimmer to learn freediving?
You should be comfortable in the water and able to swim a short distance without stress. Instructors test basic swimming and water confidence at the start of a course.
How long can beginners hold their breath?
Many beginners reach one to two minutes in a static drill after training, but recreational dives are usually much shorter. Depth and comfort matter more than time.
Is freediving safe for beginners?
Yes when done with a trained instructor and buddy, and when safety rules are followed strictly. Never dive alone.
What is the best season for freediving in El Nido?
The dry season from about December to May generally offers calmer seas and better visibility.
Can I freedive if I have asthma or ear problems?
Get medical advice first and tell your instructor. Some conditions require clearance before you dive.