
Organizing a school trip to a remote coastal destination is very different from booking a holiday for friends. This how-to guide focuses on planning an educational field trip to El Nido specifically for teachers, school administrators and parent coordinators who must balance learning goals, safety rules, approvals and a tight budget. It walks through the process in order, from the first approval request to the post-trip debrief, with checklists, a sample budget table and ideas for turning a beautiful destination into a real classroom.
- Step 1: Define the Learning Objectives First
- Step 2: Get Approvals and Paperwork Early
- Step 3: Set Staffing Ratios and Roles
- Step 4: Choose Dates and Check the Weather
- Step 5: Build a Realistic Budget
- Step 6: Select Activities That Teach
- Step 7: Plan Safety and Health Measures
- Step 8: Choose Accommodation and Transport Carefully
- Step 9: Prepare Students Before You Leave
- Sample Three-Day Educational Itinerary
- Managing Group Behavior and Wellbeing
- Working With Local Providers and the Environment
- Common Planning Mistakes to Avoid
- Step 10: Debrief and Evaluate
- Frequently Asked Questions
- How early should a school start planning an El Nido trip?
- What teacher-to-student ratio should we use on boats?
- Do students need to know how to swim?
- What is the best time of year for a school trip?
- How can we keep the trip affordable?
- What learning activities work best in El Nido?
- Explore our El Nido Rankings
Step 1: Define the Learning Objectives First
The strongest school trips start with learning goals, not with a list of attractions. Ask what students should know or be able to do after the trip, and then choose activities to match. El Nido works well for marine science, geography, environmental stewardship, local history and cultural studies, because limestone karst, coral reefs, mangroves and fishing communities sit within a few hours of each other.
Write two or three measurable objectives, such as identifying three reef zones, explaining how limestone karst forms, or interviewing a local resident about changes in fishing practices. These objectives justify the trip to school leaders and parents, and they help you cut activities that are fun but off-topic.
Step 2: Get Approvals and Paperwork Early
School trips normally require approval from the principal, the school board or division office, and written consent from every parent or guardian. Review the Department of Education’s current policy on off-campus activities at DepEd, and check whether your division requires additional forms, risk assessments or advance notice. Private schools and universities have their own rules, so ask your administration which documents are mandatory.
Prepare a packet that includes the itinerary, objectives, budget, transport and accommodation details, emergency contacts, medical information and a signed waiver. Keep digital and paper copies, and give a copy to the school office before departure.
- Letter of request and approval from the principal or school head
- Parent or guardian consent forms with emergency numbers
- Student medical information, allergies and medications
- Insurance details for students and chaperones
- List of chaperones and their responsibilities
- Itinerary with contact numbers for every provider
Step 3: Set Staffing Ratios and Roles
Safety on and around water demands more adults than a classroom field trip. Many schools aim for one adult for every eight to ten students on land and a lower ratio, such as one adult for every five to eight students, for boat and swimming activities. Always follow your school’s stated minimum and consider stricter ratios for younger children or non-swimmers.
Assign clear roles: a trip leader, a first-aid lead, a headcounter for every transition, a finance officer and a communications contact who stays in touch with the school and parents. Rotate duties so no one is overloaded.
Step 4: Choose Dates and Check the Weather
The dry months from roughly November to May are usually calmer for boat trips, but typhoon and monsoon patterns can shift. Check forecasts and advisories from PAGASA well before travel and again in the final week. Build a backup plan for indoor or land-based learning if boats are cancelled. Our semester break student trip guide lists timing considerations for student groups, and our November planning guide shows what to expect at the start of the dry season.
Step 5: Build a Realistic Budget
The table below shows the main budget lines for a group trip and where schools can save money. Actual prices vary, so request written quotations and compare at least three providers.
| Budget line | What it covers | How to reduce cost |
|---|---|---|
| Transport | Flights, vans or buses, and local transfers | Book group rates and travel off-peak |
| Accommodation | Rooms for students and chaperones | Choose dorm-style or hostel group rooms |
| Island tours | Boat hire, guides, lunch and fees | Book a private group boat instead of individual seats |
| Meals | Breakfast, dinner and snacks | Negotiate set menus for groups |
| Insurance | Accident and travel cover | Check whether the school already has coverage |
| Contingency | Delays, medical needs, extra nights | Reserve 10 percent of the total |
Step 6: Select Activities That Teach
Mix guided tours with structured learning tasks so students engage rather than just sightsee.
Marine and Coastal Science
Plan a guided snorkeling session where students record fish species, coral types and signs of damage, using simple waterproof slates. Discuss how tourism, boats and plastics affect reefs. Pair this with a talk by a local marine officer if possible.
Geography and Geology
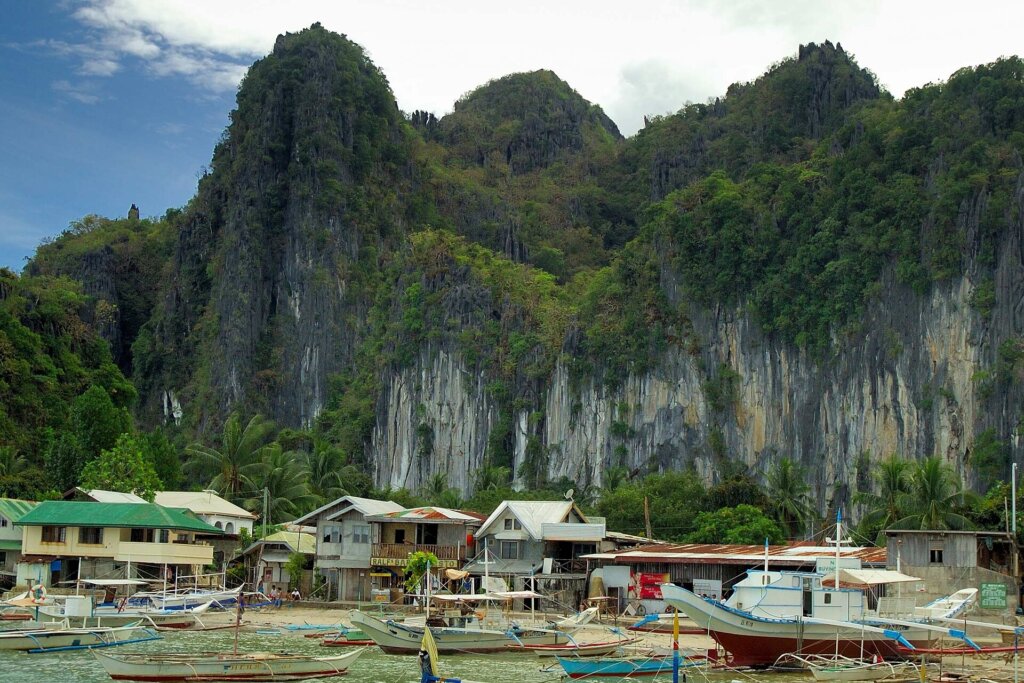
Karst cliffs, lagoons and caves provide a natural lesson on erosion and sea-level change. Have students sketch landforms and match them to textbook diagrams. Read ahead with our island hopping tour comparison to pick routes that suit your lesson.
Community and Culture
Arrange a short visit to a fishing community, local market or cultural center. Prepare interview questions beforehand and teach students to ask respectfully and to seek permission before taking photos.
Environmental Service
A short beach cleanup, with proper gloves and bags, helps students see the cost of waste. Check local rules first, including El Nido single-use plastic rules, and coordinate with local authorities so your activity is welcome.
Step 7: Plan Safety and Health Measures
Run a swimming-ability check before the trip and require life jackets for every student on boats, regardless of skill. Brief students on rules for the sea, sun, heat and unfamiliar food. Read what a tour safety briefing covers and ocean current and swimming safety so you can ask operators the right questions.
Bring a well-stocked first-aid kit, oral rehydration salts, sunscreen, insect repellent and any prescribed medication. Identify the nearest clinic and hospital, and keep their contact numbers on every chaperone’s phone. Our health and vaccination guide explains common risks and basic prevention.
Step 8: Choose Accommodation and Transport Carefully
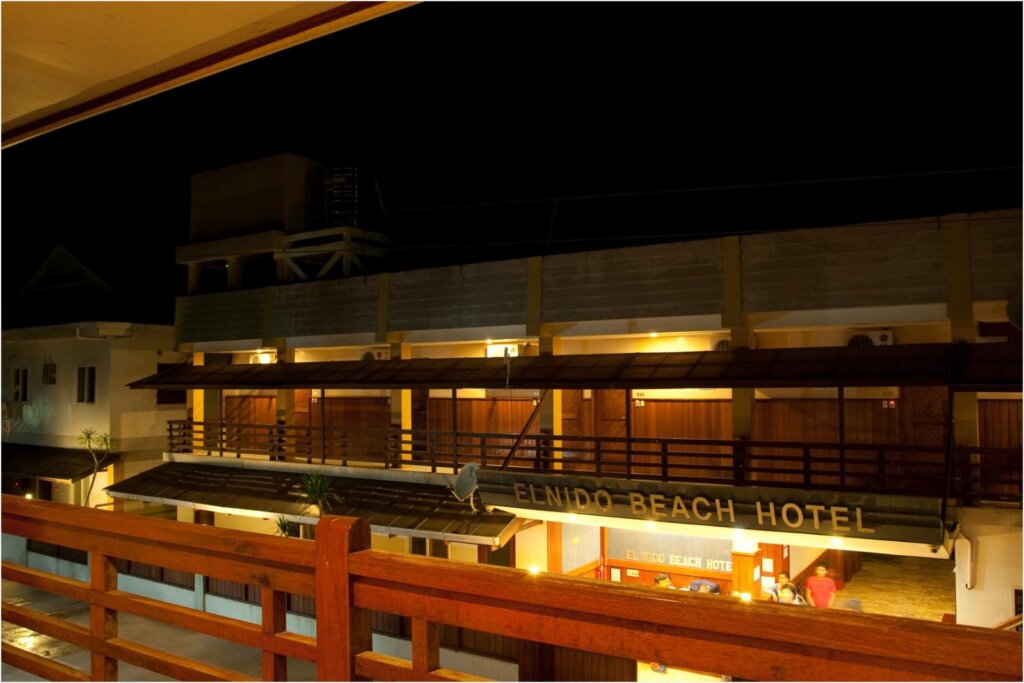
Pick lodging that can accommodate your group in the same building or compound, with lockable doors, adequate bathrooms and reliable water. Ask about curfew rules, noise policies and meal service. For transport, prefer licensed operators with insured vehicles and boats, and request written confirmation of seating and baggage arrangements. Avoid late-night travel with minors.
Check the official Department of Tourism website for accredited accommodations and tour operators, and ask your school whether it keeps a list of approved suppliers.
Step 9: Prepare Students Before You Leave
A pre-trip briefing sets expectations and reduces problems. Cover behavior rules, safety instructions, the daily schedule, what to pack and what to do if someone gets lost. Assign small buddy groups and give each student an emergency card with the trip leader’s number and the hotel address. Teach basic Filipino or local phrases for greetings and thanks, which improves interactions with hosts.
Ask students to complete a short research task, such as a one-page profile of a marine species or a map of the route. This builds curiosity and makes the field experience more meaningful.
Sample Three-Day Educational Itinerary
Keep buffer time every day because boat schedules, weather and student energy levels change quickly. Do not overpack the program.
- Day 1: Arrive, check in, hold a safety and objectives briefing, then take a short guided walk through town and the market for a community mapping exercise.
- Day 2: Full-day island tour with structured reef observation, a geology sketch stop and a reflection circle on the boat ride back.
- Day 3: Morning supervised beach cleanup and a talk with a local resident, then group presentations and departure.
Managing Group Behavior and Wellbeing
Even well-behaved students get excited by a beach destination, so set expectations early and consistently. Establish curfew times, buddy rules and consequences, and make sure every student knows who to approach with a problem. Build in rest periods, water breaks and shaded downtime, particularly in hot months. Homesickness, seasickness and sunburn are the most common complaints, and all are easier to manage with early attention.
Respect local residents, keep noise down in the evenings and remind students that photographs of people require permission. A group that behaves well leaves a good impression and keeps doors open for future school visits.
Working With Local Providers and the Environment
Ask providers about their safety certifications, equipment checks and emergency procedures, and request references from other schools. Choose operators who follow environmental rules and employ local guides. The DENR publishes information on protected areas and responsible visitor behavior that you can turn into a classroom resource.
Teach students the leave-no-trace principles: carry out all trash, never touch or stand on coral, avoid feeding wildlife and use reef-safe sunscreen. These habits become the most lasting lessons of the trip.
Common Planning Mistakes to Avoid
Teachers who have run coastal trips often name the same few mistakes. Leaving approvals to the last minute leaves no time to fix missing documents. Booking only one supplier with no backup creates risk if a boat is cancelled. Skipping a headcount at transitions is the most common cause of a scare. Finally, trying to fit too many activities into a short trip leaves students tired and distracted, which hurts both learning and safety.
Step 10: Debrief and Evaluate
After the trip, hold a debrief to review what went well and what to improve. Collect student reflections, photos and learning outputs such as sketches, interviews or data tables. Share a summary with parents and school leaders, and note any incidents, costs and supplier performance for future planning. If your trip raised money or collected data, report it transparently. Also share your findings with partners who hosted you. For a student-focused budget perspective, see our student budget and discount guide.
Frequently Asked Questions
How early should a school start planning an El Nido trip?
Start at least three to four months ahead to allow time for approvals, quotations, parent consent and bookings.
What teacher-to-student ratio should we use on boats?
Follow your school and division rules, and aim for a stricter ratio on water than on land, with life jackets for every student.
Do students need to know how to swim?
Not necessarily, but non-swimmers should be identified in advance, kept in life jackets and supervised closely at all times.
What is the best time of year for a school trip?
The dry season from roughly November to May is generally calmer, but always check weather advisories and have a backup plan.
How can we keep the trip affordable?
Book group rates, travel off-peak, share private boats, choose hostel-style rooms and negotiate set meals.
What learning activities work best in El Nido?
Snorkel-based reef observation, geology sketching of karst landforms, community interviews and a supervised beach cleanup are all strong options.