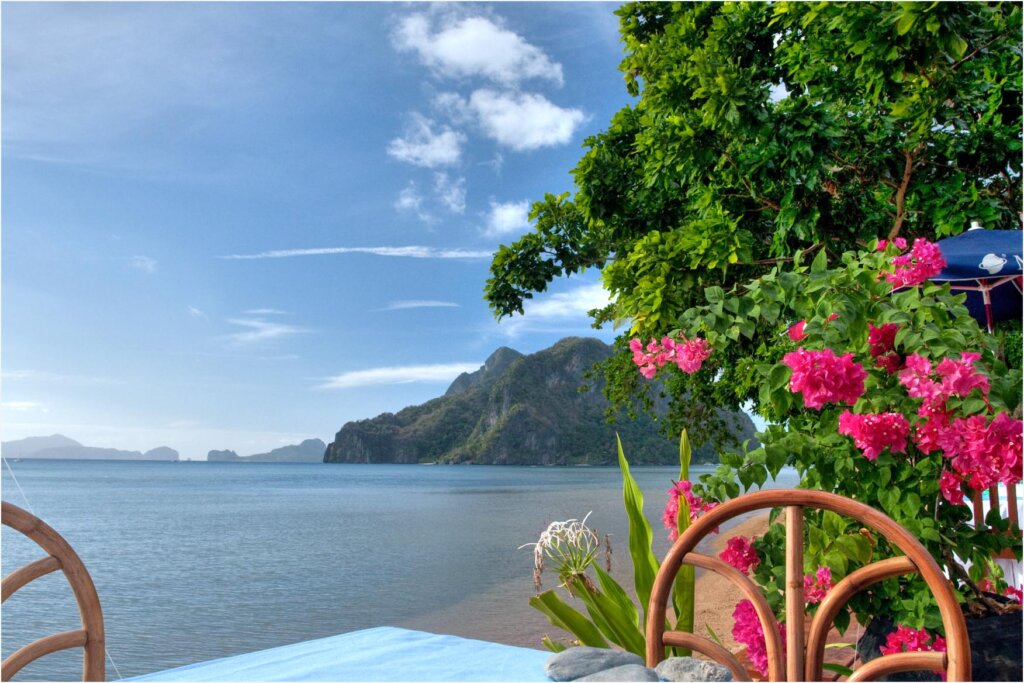

Most El Nido island-hopping stops are wet landings: the bangka noses into knee- to waist-deep water and you climb down a ladder or the bow. Wear water shoes, pack valuables in a sealed dry bag, wait for the boatman’s signal, and step off facing the boat with three points of contact.
If you have only seen El Nido on Instagram, you probably picture people stepping straight from a boat onto powdery sand. In reality, the outrigger bangkas that run Tours A to D almost never tie up to a jetty. They anchor or drift a few metres offshore, and you finish the trip on foot through the water. This guide focuses on wet landings specifically for first-time island hoppers, travellers carrying cameras or phones, and anyone with limited mobility who wants to know exactly what the boat-to-beach moment looks like before booking.
We cover what happens at each stage, which stops are the trickiest, what to wear and carry, and how to make the process safe for kids, older travellers and non-swimmers. For the bigger picture on tour etiquette, see our island-hopping boat etiquette guide.
What a Wet Landing Actually Means in El Nido
A wet landing is any arrival where you leave the boat into water rather than onto a dock. In Bacuit Bay there are three common versions. The first is the bow landing: the boatman drives the bangka’s pointed bow gently onto the sand in very shallow water, then you walk down a narrow plank or jump the last half-metre. The second is the ladder landing: the boat anchors in deeper water, usually knee to thigh deep, and a short wooden or metal ladder is hooked over the side. The third is the swim or kayak transfer, used where reefs or regulations keep boats well offshore. Big Lagoon on Miniloc Island, for example, is reached by kayak from the boat area, and Secret Lagoon requires a short wade and squeeze through a rock opening.
Which version you get depends on the tide, swell and how crowded the beach is. On a calm morning at mid-tide, a boatman might bring the bow almost to dry sand. On a choppy afternoon with twenty other boats lined up, you may be dropped in waist-deep water further out. Expect to get wet at least to the knee at every stop, and pack accordingly.
The Palawan Council for Sustainable Development and the El Nido-Taytay Managed Resource Protected Area rules also shape where boats can go. Anchoring on live coral is prohibited, so crews often hold position further out than you might expect. You can read more about the protected-area framework on the PCSD website.
Step-by-Step: How to Get Off the Boat Safely
The process is simple once you have done it twice, but the first time can feel awkward on a rocking hull. Follow this sequence and you will look like a regular by the second stop.
- Wait for the signal. Stay seated until the boatman or guide says it is time. Standing early is the most common cause of slips, because the boat is still swinging on its anchor line.
- Secure your gear first. Seal your dry bag, clip it to yourself or hand it to a companion who goes first. Put your phone in a waterproof pouch with a lanyard, not in a pocket.
- Move to the exit point low. Walk along the centre of the deck or the bamboo outrigger plank in a crouch, holding the canopy frame. Never walk along the outer edge.
- Face the boat when descending. On a ladder, turn around and climb down backwards like you would on a step ladder, keeping three points of contact.
- Test the bottom. Lower one foot and feel for sand or rock before you commit your weight. Sea urchins and sharp coral fragments are possible near rocky shores.
- Walk, do not run, to shore. Shuffle your feet slightly in sandy shallows to avoid stepping directly on rays or urchins, and keep your bag above the water line.
- Reboard the same way in reverse. Hand up your bag first, grab the ladder or the outstretched hand of a crew member, and climb with your knees, not your stomach, on the gunwale.
Crew members on reputable tours will physically help anyone who needs it. Do not be shy about asking. It is a normal part of their job, and they would much rather lend a hand than fish a phone out of the sea.
Wet Landing Difficulty by Popular Stop
Conditions vary daily, but some stops are reliably easier than others. The table below summarises what our team and local operators typically see in the dry season from November to May.
| Stop | Usual Tour | Typical Water Depth | Landing Type | Difficulty |
|---|---|---|---|---|
| Seven Commandos Beach | Tour A | Knee to thigh | Bow or ladder | Easy |
| Shimizu Island | Tour A | Thigh to waist | Ladder, rocky edges | Moderate |
| Secret Lagoon (Miniloc) | Tour A | Knee, then rock gap | Wade and squeeze | Moderate |
| Snake Island sandbar | Tour B | Ankle to knee at low tide | Bow landing | Easy |
| Hidden Beach (Matinloc) | Tour C | Waist, swim through rocks | Swim or wade | Hard |
| Helicopter Island | Tour C / Tour D | Knee to thigh | Bow or ladder | Easy to moderate |
If you or someone in your group is nervous in water, compare itineraries in our Tour A vs Tour C comparison before booking. Tour C includes more snorkelling-based entries, while Tour A has more beach landings that most people can wade.
What to Wear and Pack for Wet Landings
Your clothing and bag choices matter more than athletic ability. The goal is to keep electronics dry, protect your feet and stay comfortable in wet clothes for six to eight hours.
- Water shoes or reef booties. They protect against sharp rocks at Shimizu and Hidden Beach and give grip on slippery ladder rungs. Flip-flops often get sucked off in soft sand. Our water shoes vs sandals guide compares options.
- A roll-top dry bag of 10 to 20 litres. This fits a towel, sunscreen, a light shirt and a power bank. See our waterproof gear and dry bag guide for sizes.
- A waterproof phone pouch with a neck lanyard. It lets you take photos in the shallows without risking the phone.
- Quick-dry clothing. Swimwear plus a rash guard or quick-dry shirt is ideal. Denim shorts become heavy and cold once soaked.
- Reef-safe sunscreen applied before you leave. Reapply on the beach, not on the boat deck where it makes surfaces slippery. Check reef-safe sunscreen rules for what local shops stock.
Leave passports, large amounts of cash and laptops in your hotel safe. Even the best dry bags fail if dropped from a height or left at the bottom of a wet boat for hours.
Tips for Kids, Older Travellers and Non-Swimmers
Wet landings are manageable for almost everyone, but a little planning makes them far less stressful for vulnerable travellers.
Children: Life jackets are provided on licensed tours and should be worn during landings, not just while snorkelling. Hand small children down to an adult already standing in the water rather than letting them jump. Ask the crew for the shallowest drop point.
Older travellers and those with knee or back issues: Ask for the boat to bow-land where possible, and request a crew member on each side for the ladder. Private tours give you more control over timing and position, which helps. Booking an early departure also means fewer boats crowding the beach, so crews can come in closer.
Non-swimmers: Wear a life jacket for every transfer, even in shallow water, because the bottom can drop suddenly. Skip swim-only entries such as Hidden Beach, or stay on the boat while others go. The Philippine Coast Guard requires licensed passenger boats to carry life jackets for everyone aboard, so you should never need to ask twice.
Weather, Tides and When Landings Get Harder
Two forces change the landing experience: swell and tide. During the northeast monsoon (amihan) from roughly November to February, winds can whip up chop on exposed beaches in the afternoon. During the southwest monsoon (habagat) from about June to October, some routes are cancelled entirely when the Coast Guard suspends sea travel.
Tides matter too. At low tide, boats may have to stop further out because of shallow reefs, which means a longer wade. At high tide, beaches like the Snake Island sandbar shrink, but the boat can often come closer. If you want to plan around this, our tides and beach access timing guide explains how to read the daily tables. For official weather and gale warnings, check PAGASA the evening before your tour.
Seasickness and wet landings can combine badly: someone who is already queasy is more likely to stumble. If that is you, read our seasickness remedies for island hopping and sit near the middle of the boat.
Common Mistakes and How to Avoid Them
Most mishaps during wet landings are small, but they can ruin a day. Here are the ones local guides see again and again.
- Carrying the phone in your hand. One wave or misstep and it is gone. Use a lanyard pouch.
- Jumping off the bow. The water depth is often deceptive, and the sand can hide rocks. Lower yourself down instead.
- Standing on the outrigger arms. The bamboo arms look sturdy but are not designed for body weight in motion.
- Leaving the dry bag open on deck. Spray soaks bags quickly once the boat moves. Roll it closed at every stop.
- Rushing back to the boat. Crews give a time to return. Arrive a few minutes early so you are not wading back in a crowd.
Following these simple habits also keeps the beaches cleaner, because fewer items end up lost in the water. The Department of Tourism promotes responsible-visitor guidelines for island destinations that echo many of these points.
Key Takeaways
- Nearly every El Nido island-hopping stop involves stepping into knee- to waist-deep water, not onto a dock.
- Wait for the crew’s signal, descend facing the boat, and keep three points of contact on ladders.
- Water shoes, a sealed 10–20 litre dry bag and a lanyard phone pouch solve most problems.
- Hidden Beach and Shimizu are the hardest landings; Seven Commandos and Snake Island are easiest.
- Children, non-swimmers and older travellers should wear life jackets for every transfer and ask for crew help.
- Calm morning departures usually mean easier, shallower landings than crowded afternoons.
Frequently Asked Questions
Do I need to know how to swim for El Nido island hopping?
No. Most beach landings are a wade in knee- to waist-deep water, and licensed boats provide life jackets. Non-swimmers should wear one for every transfer and skip swim-only entries like Hidden Beach.
Can I keep my phone dry during wet landings?
Yes. Use a waterproof pouch with a neck lanyard and store backups in a sealed roll-top dry bag. Never carry the phone loose in your hand while climbing down.
Are there any El Nido tour stops with a proper pier?
Very few. A handful of private island resorts have jetties for their guests, but standard Tour A to D stops are almost all wet landings or kayak transfers.
What shoes are best for wet landings in El Nido?
Closed-toe water shoes or reef booties with grippy soles. They protect against sharp rocks and urchins and stay on your feet in soft sand, unlike flip-flops.
Is a wet landing safe for young children?
Yes, with precautions. Put a life jacket on the child, ask the crew for the shallowest drop point, and hand the child down to an adult already standing in the water.
About the Author
This guide was compiled by the El Nido Hotels Ranking editorial team, with input from local operators and ongoing on-the-ground updates.